Improve Your Screenshotting Experience with ShareX [Software of the Day #6]
For today’s Software of the Day, we are taking a look at ShareX. ShareX is an awesome screenshotting that gives you the ability to capture screenshots, choose an action to be taken upon taking a screenshot, adding image effects to final images, recording portions of, specific windows of, or your entire screen to save as either a GIF or MP4, and much more. Let’s get into what ShareX can do.
Installation
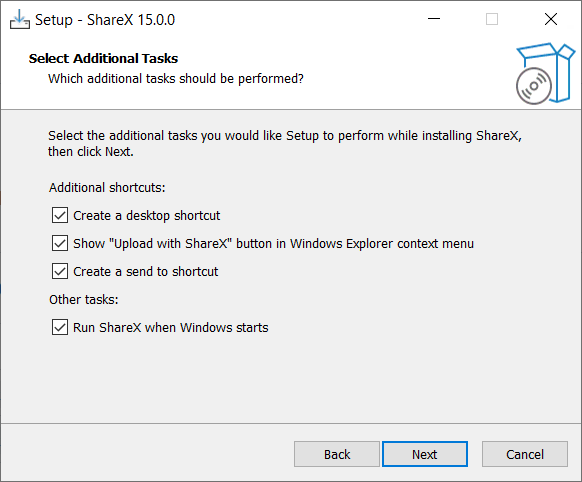
The installation process of ShareX is quite simple. You can simply go to the Releases tab on ShareX’s GitHub page to download the latest release of ShareX. After running the installer and accepting the UAC prompt, you can proceed to accept the agreement once you have read it (because I’m sure you have), choose an installation location, and choose various options.
Taking Screenshots
To take a screenshot, simply use the keybind. ShareX has the following keybinds set by default:
| Action | Keybind |
| Capture region | Ctrl + Print Screen |
| Capture entire screen | Print Screen |
| Capture active window | Alt + Print Screen |
| Start/Stop screen recording | Shift + Print Screen |
| Start/Stop screen recording (GIF) | Ctrl + Shift + Print Screen |
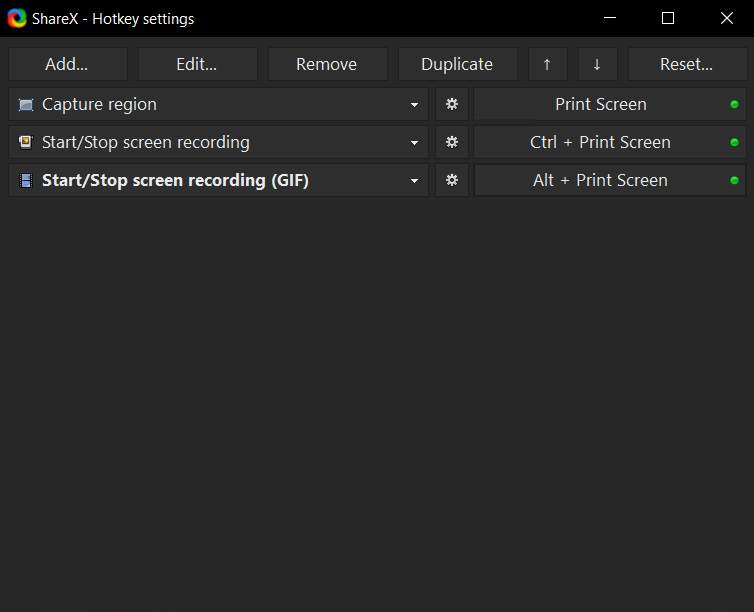
You can change the keybinds by opening the ShareX window, which can be opened via the taskbar’s tray icon, and clicking “Hotkey settings…” on the left navigation menu. To modify the settings of an action, click the gear/cog icon next to it.
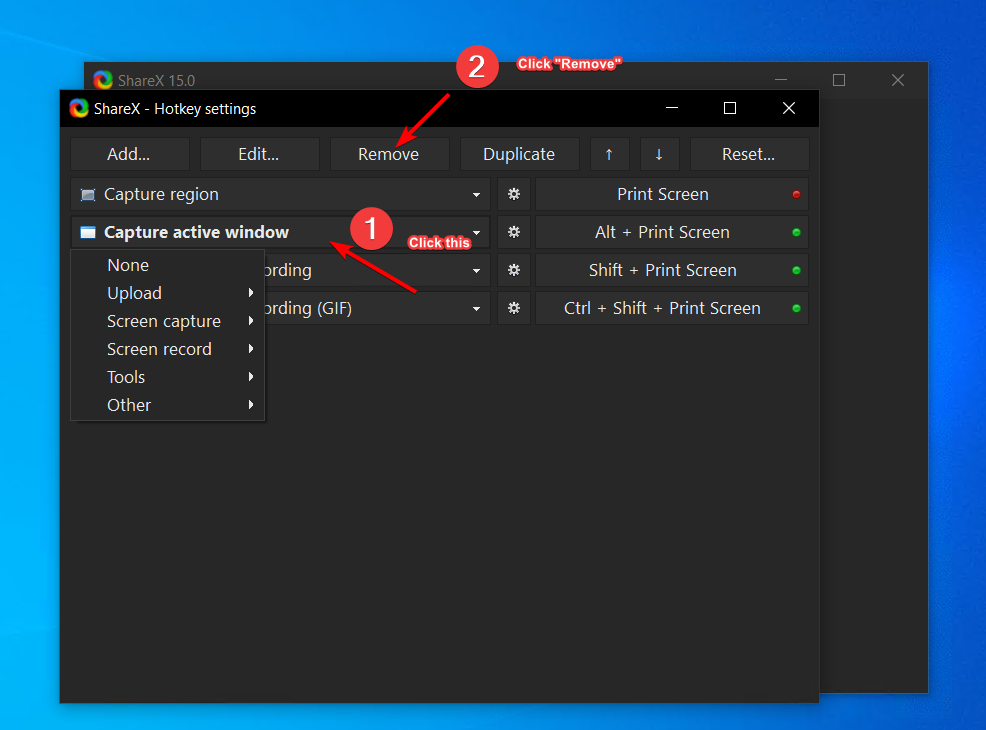
You can also remove a hotkey by clicking the action and clicking the “Remove” button at the top.
Let’s suppose you are taking a regular screenshot, where you wish to capture a region. In this case, you can press the assigned key (or key combination), and you will see something like this:
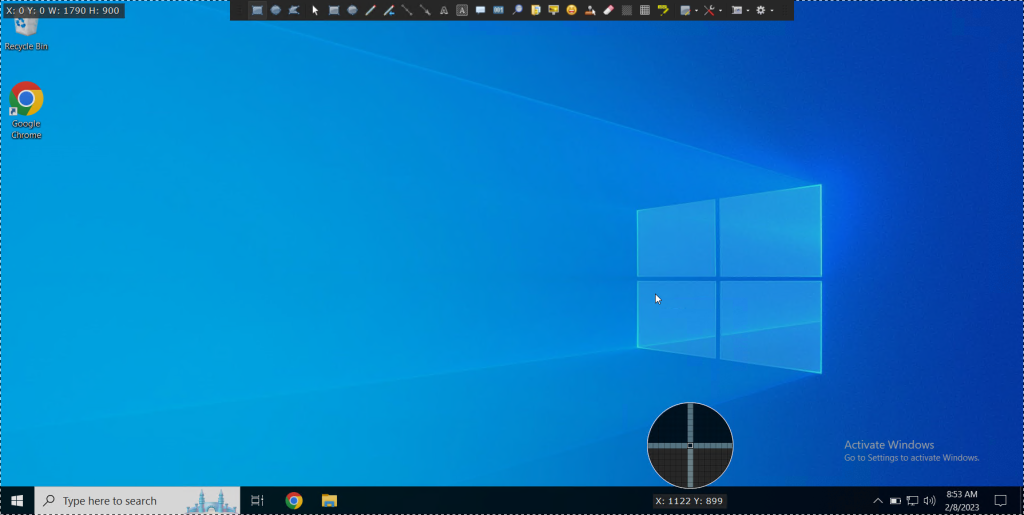
On the top, you can see a toolbar. You can use the grid with dots to move this toolbar around, in case you don’t want the toolbar to be in the way. The default selection tool selected is the “Rectangle region,” where you can simply click and drag to make a square or rectangular selection. Then, you can let go of the mouse. There is also the “Ellipse region” selection tool, which lets you click and drag to take a circular screenshot. Finally, there is the “Freehand region” selection tool, which lets you drag a custom shape with your mouse.
There are many other options, however. For example, you can add cursors onto the screen, draw a rectangle or circle, add lines and arrows, add “Steps,” which are numbers in circles, blur or pixelate part of a screenshot, and much more. You can even choose whether you want the rectangle and circle shapes to be hollow or solid by changing the “Alpha” value of its fill color. I won’t go over how to do everything here, as that would take too long, but you can play with this yourself!
Once you let go of the mouse, the screenshot has been captured, and the action taken depends on what is selected for your After capture tasks. You can view this by going to the ShareX window, and in the left navigation bar, clicking “After capture tasks” and hovering over the options. Anything in bold is already selected.
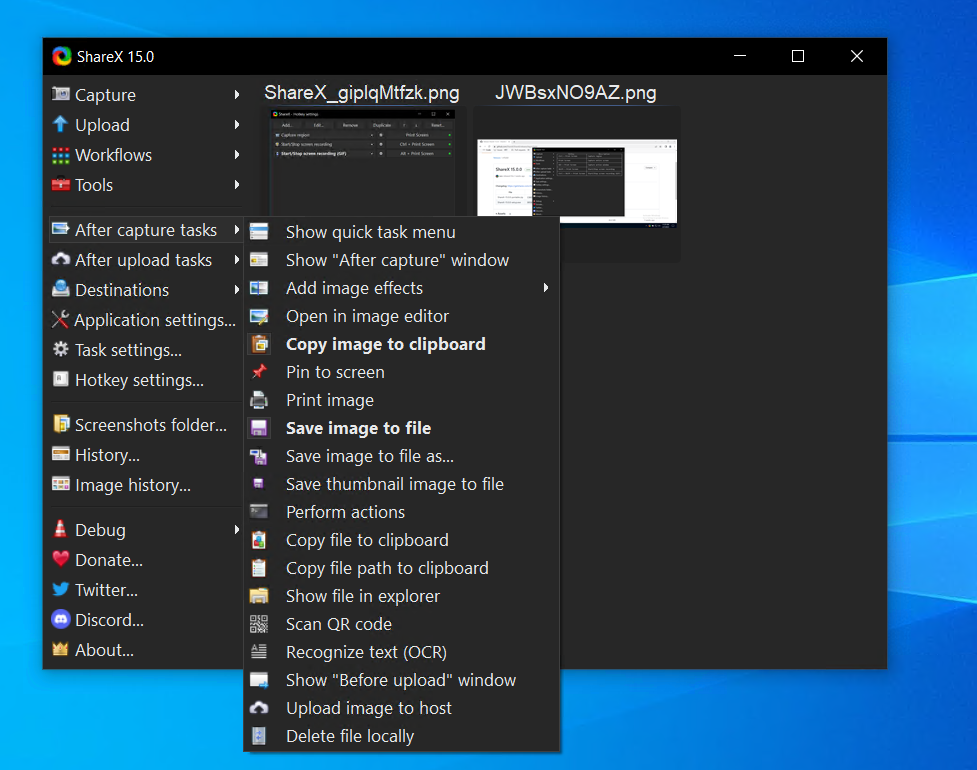
You can click the “Show quick task menu” if you want to select your option after each screenshot, as opposed to being limited to one option. This is what the quick task menu looks like by default:
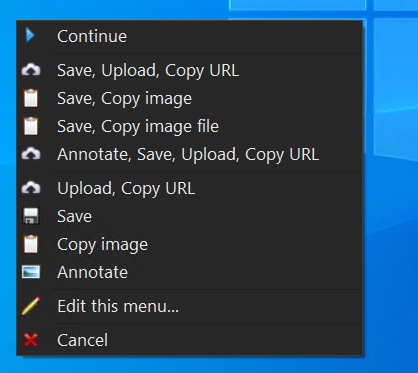
You can edit the quick task menu by clicking the button that says, “Edit this menu…” The following window will appear upon clicking this:
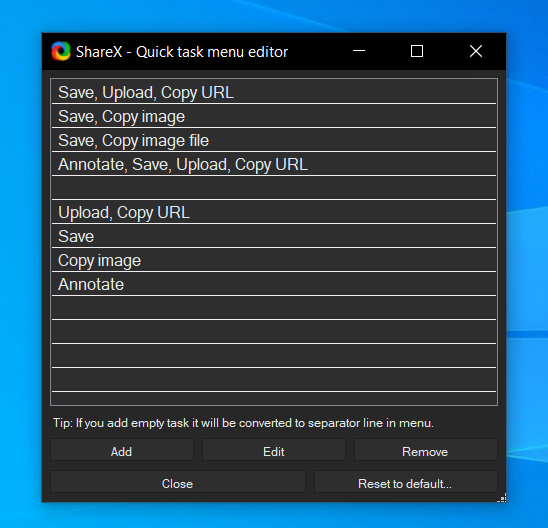
When you click an item, you can click the “Remove” button to remove it. You can also add more options, or edit an item by clicking on it and clicking the “Edit” button:
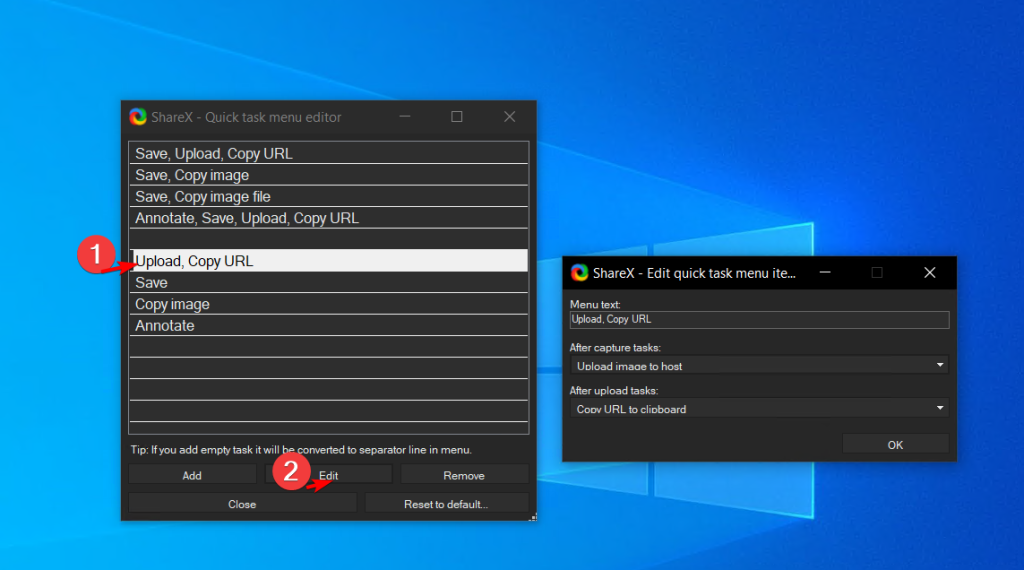
Image Effects
You can add image effects to images automatically using ShareX. ShareX happens to have an official page for finding image effects and downloading them, which you can go to here: https://getsharex.com/image-effects
Let’s suppose we want “ShareX border rectangle 2”:
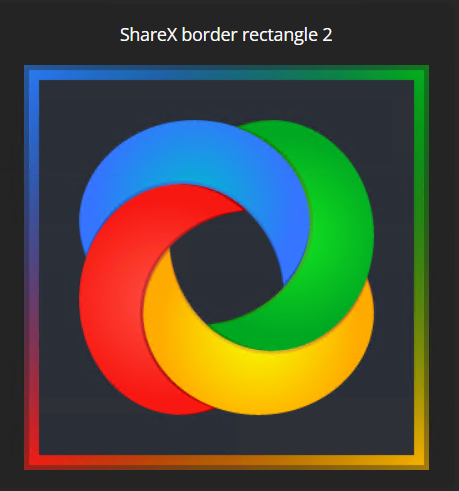
We can simply click this option, and it will download the .sxie file. Upon running this, you will get this window:
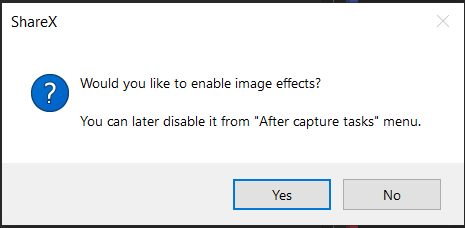
Of course, we do want to enable image effects, so we can select “Yes.” We will see this window:
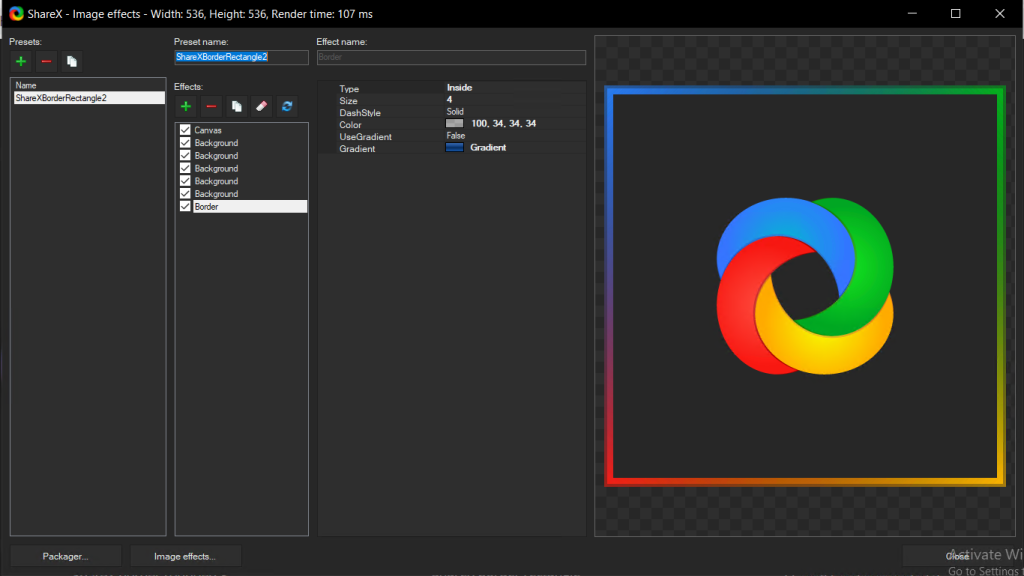
The image effect has now been added, and you can modify the appearance of it with this window.
Using an Image Server
You can use ShareX with an image server that you host yourself. One good example is ShareS, which is a NodeJS Image Server by TannerReynolds that is super easy to host yourself. If you’re interested in ShareS, you can check it out here: https://github.com/TannerReynolds/ShareX-Upload-Server
If you do choose to use ShareS, there are instructions in the README for how to get it set up. Keep in mind that you’ll need either a Virtual Private Server or a dedicated server, along with a domain, both of which cost money.
Conclusion
This article showed you why ShareX is so awesome, and just scratched the tip of the iceberg of what it can do. If you wish to learn more about ShareX, you can go to their homepage at https://getsharex.com/, hover over the “Docs” tab at the top of the page, and click on the option that correlates with what you want to learn more about.
Thanks for reading!